JunPus

JunPus thermal compounds deliver advanced heat dissipation solutions tailored for high-performance AI chips, CPUs, GPUs, and 5G base stations.

Engineered for cutting-edge semiconductor technologies,

our patented thermal pastes optimize thermal conductivity, ensuring stable performance under intensive workloads. Trusted across electronics, data centers, and telecommunications

Remove old thermal paste from the CPU lid and cooler contact surface. Prepare both surfaces for a fresh application.

Follow the cleaning guide

Pre-moistened. Individually wrapped.

Room to fold.
Clean sections
as you work.

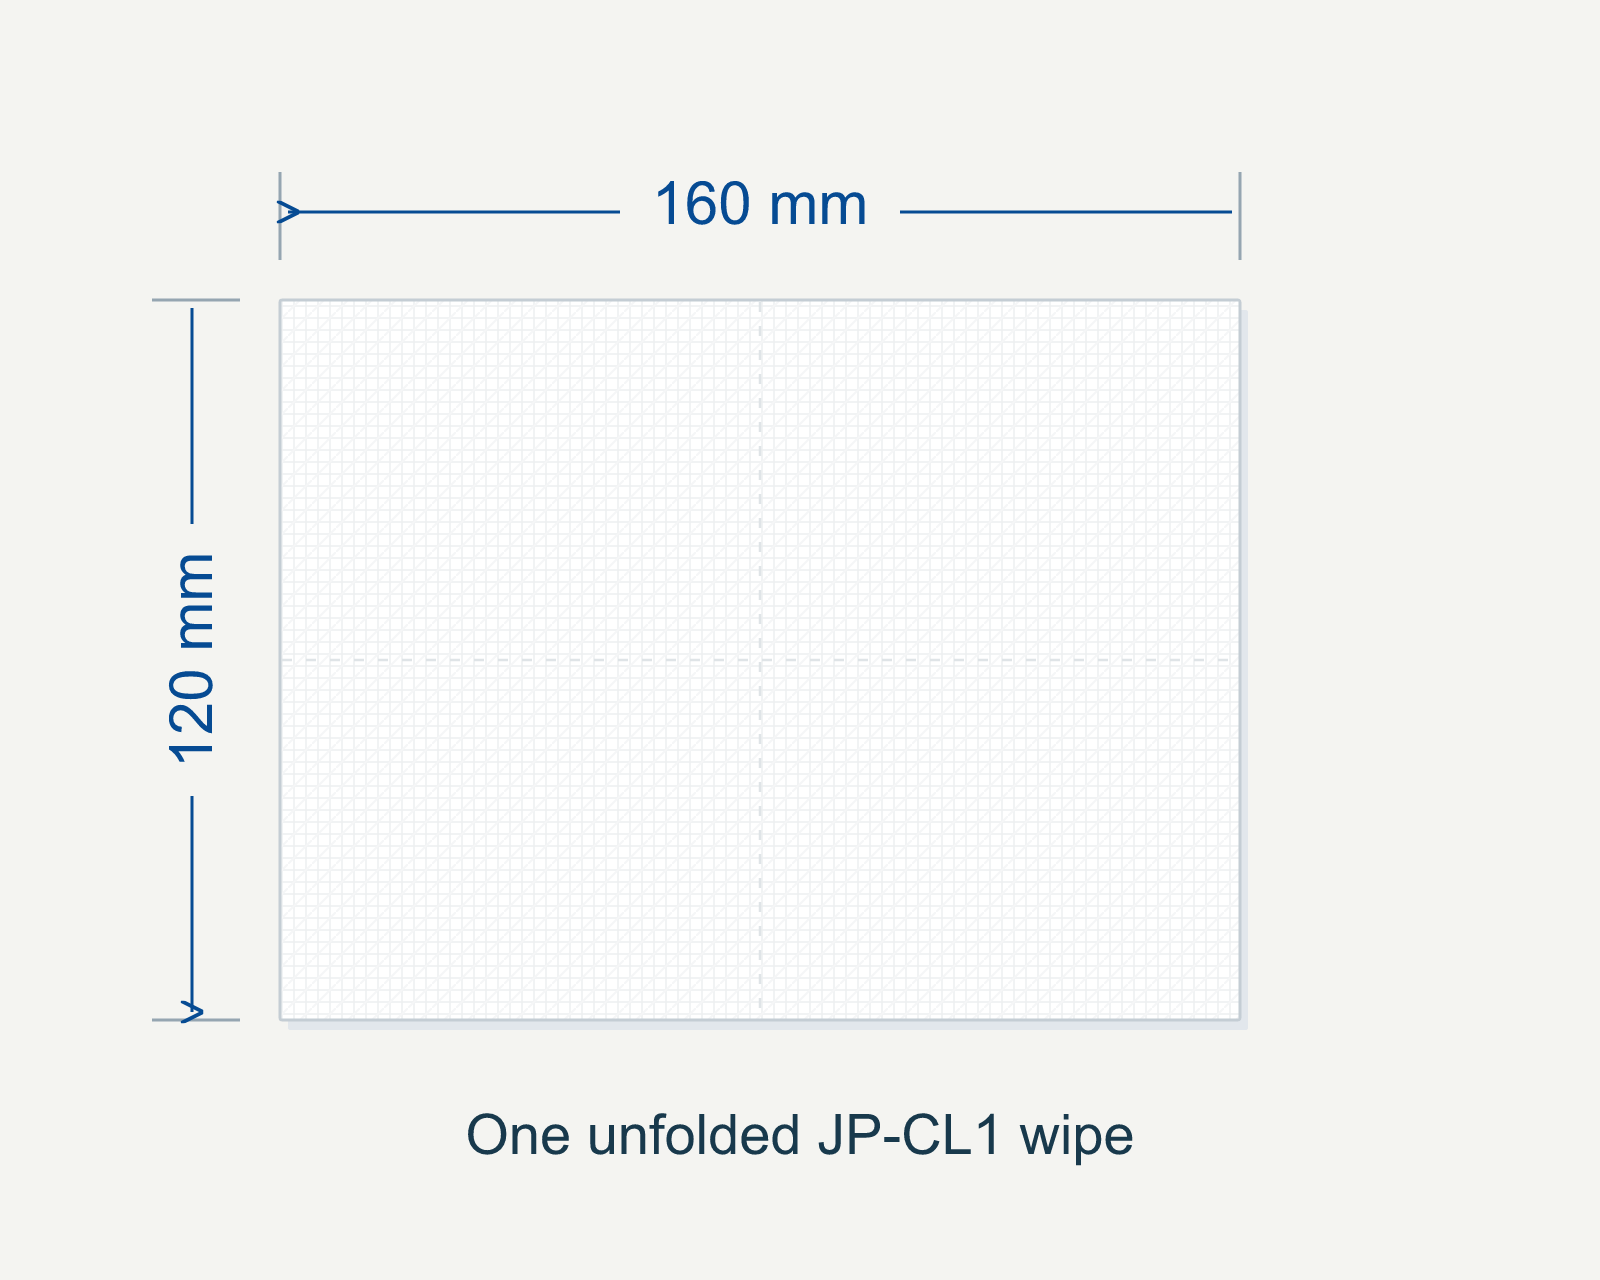
At 160 × 120 mm unfolded, each wipe gives you room to fold and move to an unused section as you clean.

Use clean sections to lift away old thermal paste during one cleaning session. Switch to a fresh wipe when needed and discard used wipes after cleaning.

160 × 120

JP-CL1 unfolded wipe schematic, with a horizontal 160 mm dimension and vertical 120 mm dimension.
Unfolded dimensions.

JP-CL1
product data.

Wipe dimensions, packaging and handling information for your maintenance planning.

Technical information

For application-specific handling, surface compatibility and current pack contents, contact JunPus. Use each wet wipe for one cleaning session, folding to clean sections as needed.

Explore the official store

Prepare both surfaces.
Complete the installation.

Follow six clear steps to remove the cooler, clean both contact surfaces, apply fresh thermal paste and reinstall the cooler.

This guide covers a desktop CPU with a metal lid. Mounting hardware, paste quantity and cloth appearance are illustrative. JunPus fan-hub stickers are branding concepts, not depictions of actual JunPus fan products.

Before you begin

Shut down and disconnect power. Follow ESD precautions and the hardware maker’s service instructions. Check the JP-CL1 label and surface compatibility before use. Keep liquid and used paste away from sockets and contacts.

  1. 01 Remove
  2. 02 Wipe CPU
  3. 03 Wipe cooler
  4. 04 Finish & dry
  5. 05 Apply paste
  6. 06 Reinstall
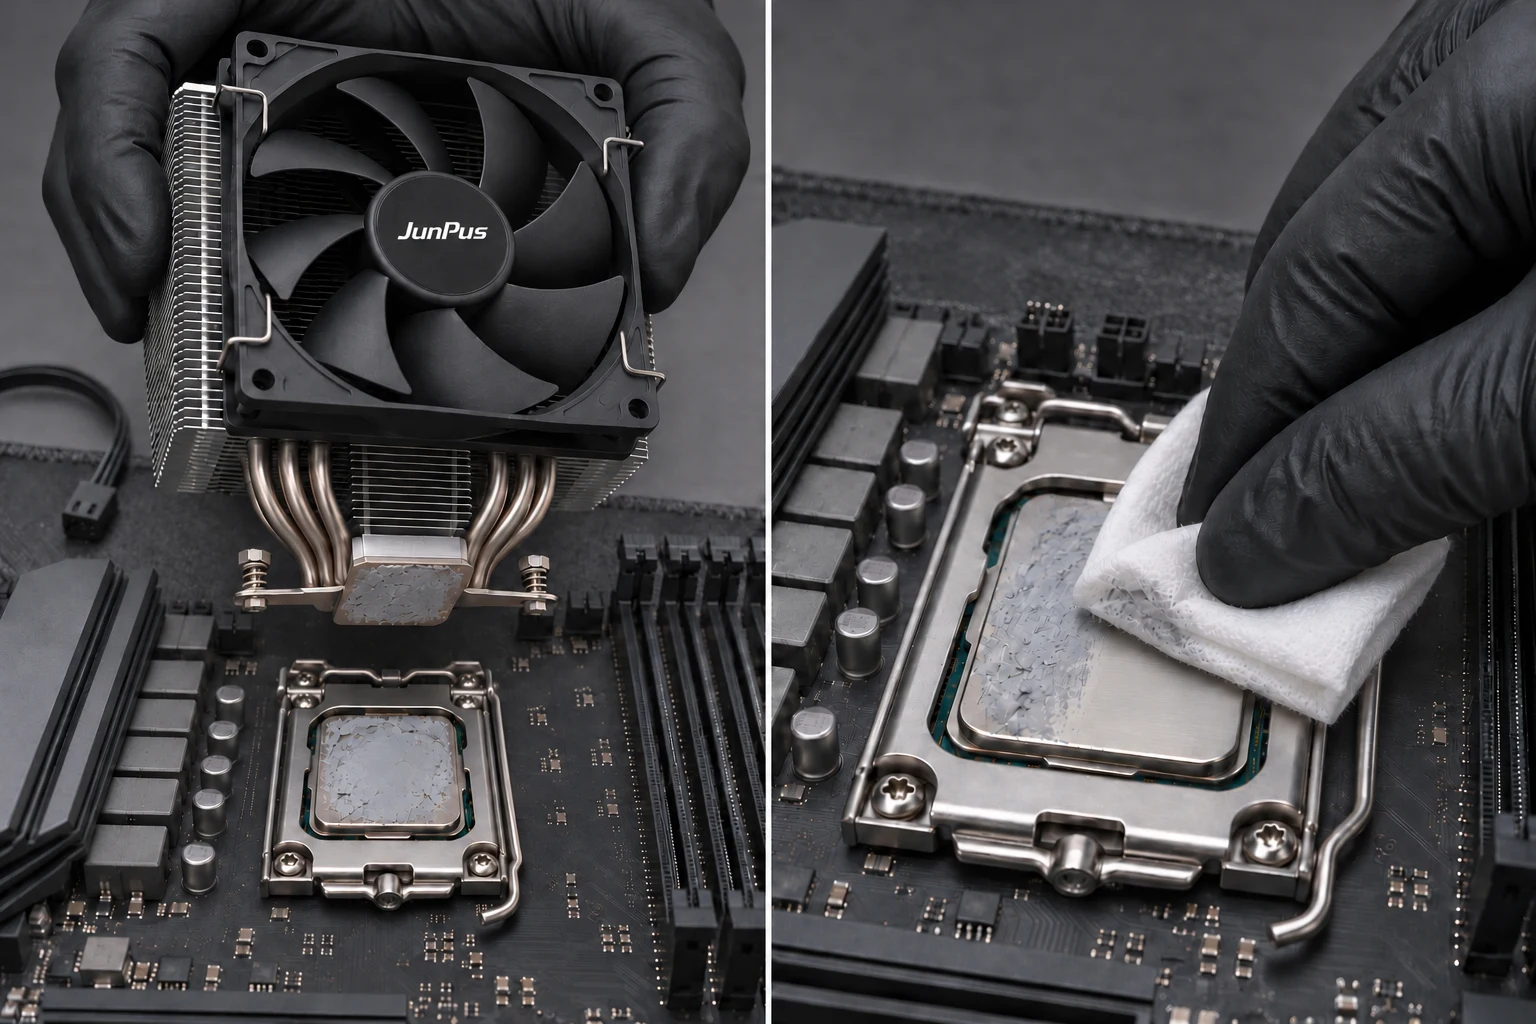
Concept image: removed generic cooler above a socketed CPU, with an illustrative JunPus hub sticker and disconnected fan cable.
01

Remove the cooler.

Power off, unplug and follow ESD precautions. Disconnect the relevant fan or pump leads, then release the cooler using its maker’s instructions. Keep the CPU secured in its socket.

Care and handling

Never force a stuck cooler. Support the assembly and avoid straining attached hoses. The illustration shows a removed cooler tilted to reveal its underside, not a removal motion.

Concept image: a folded white wipe cleaning used thermal paste from a CPU metal lid.160 × 120 mmShown folded for cleaning
02

Wipe the CPU lid.

Use JP-CL1 to gently remove old thermal paste from the CPU’s metal heat spreader. Fold to an unused section as you work.

Care and handling

Keep residue and liquid away from the socket, edges and electrical contacts. Replace the wipe when needed rather than transferring residue back.

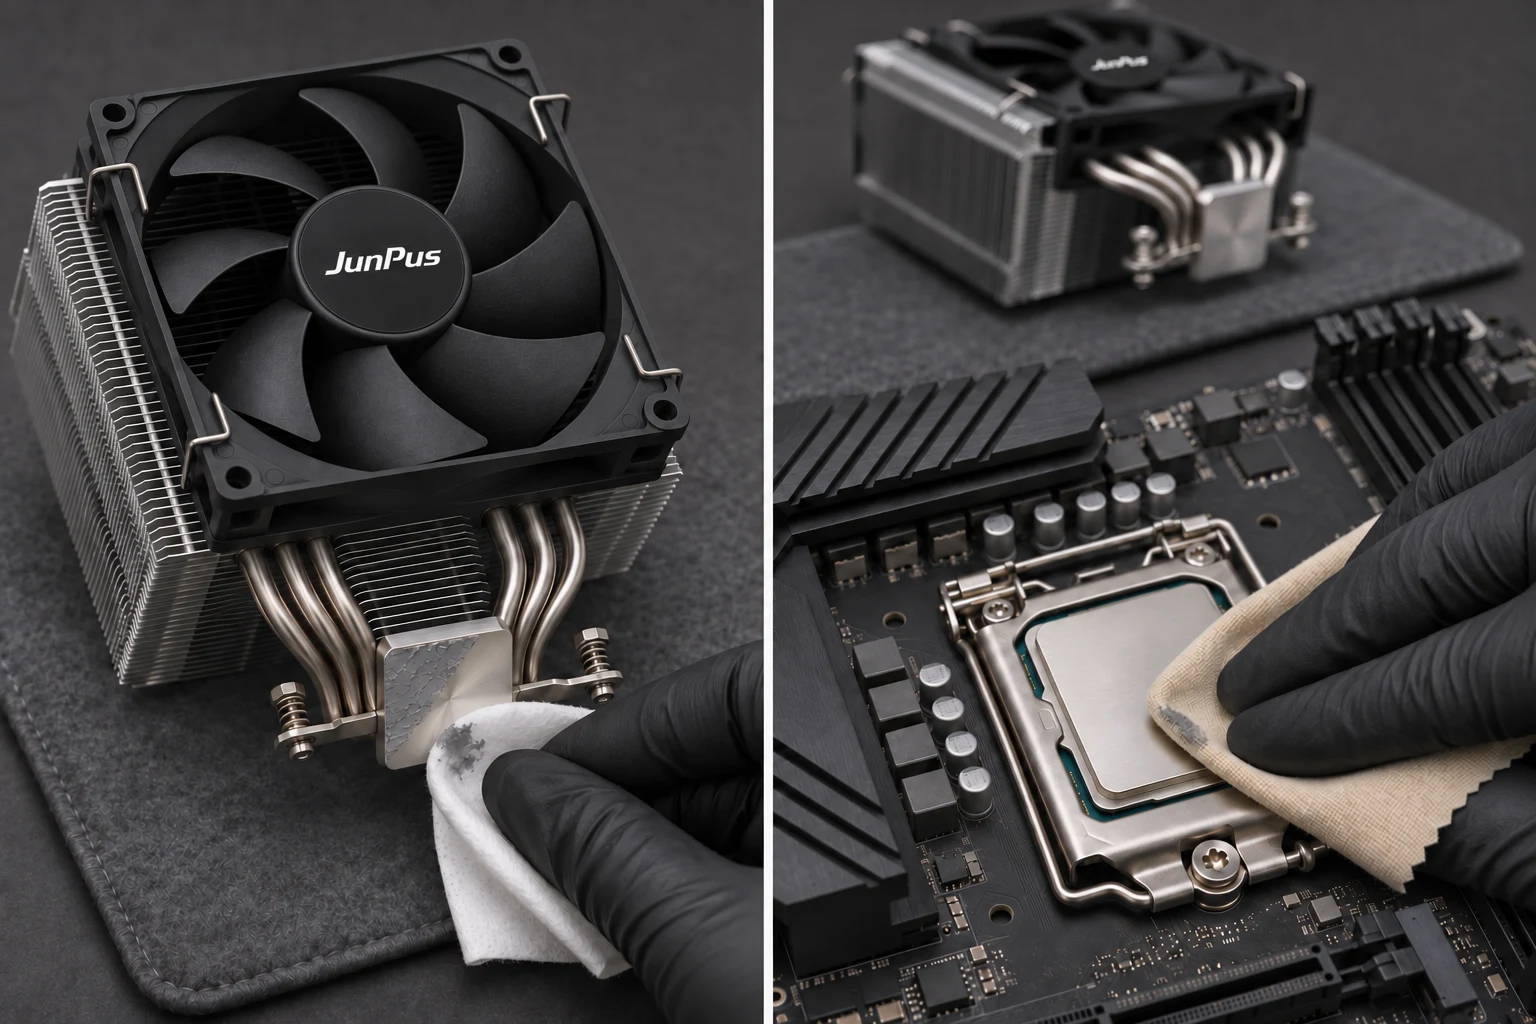
Concept image: a white wipe cleaning a generic four-heatpipe cooler with an illustrative JunPus sticker on its fan hub.160 × 120 mmShown folded for cleaning
03

Clean the cooler contact surface.

Remove old thermal paste from the cooler’s flat contact surface using a clean section or a fresh wipe. Clean both contact surfaces before applying new paste.

Care and handling

The cold plate is the flat surface that contacts the CPU. This procedure is not for scrubbing fins or exposed electronics. Discard the used wet wipe after cleaning.

Concept image: a separate beige polishing cloth finishing a clean CPU lid, with a clean cooler cold plate behind it.
04

Finish. Inspect. Let dry.

Complete the finishing step specified in your JP-CL1 instructions. Inspect both contact surfaces and let them dry completely before applying fresh thermal paste.

Care and handling

Inspect for visible residue and loose fibres. Do not touch the cleaned surfaces. No fixed drying time is specified. The beige cloth is a visual concept, not a verified pack photograph.

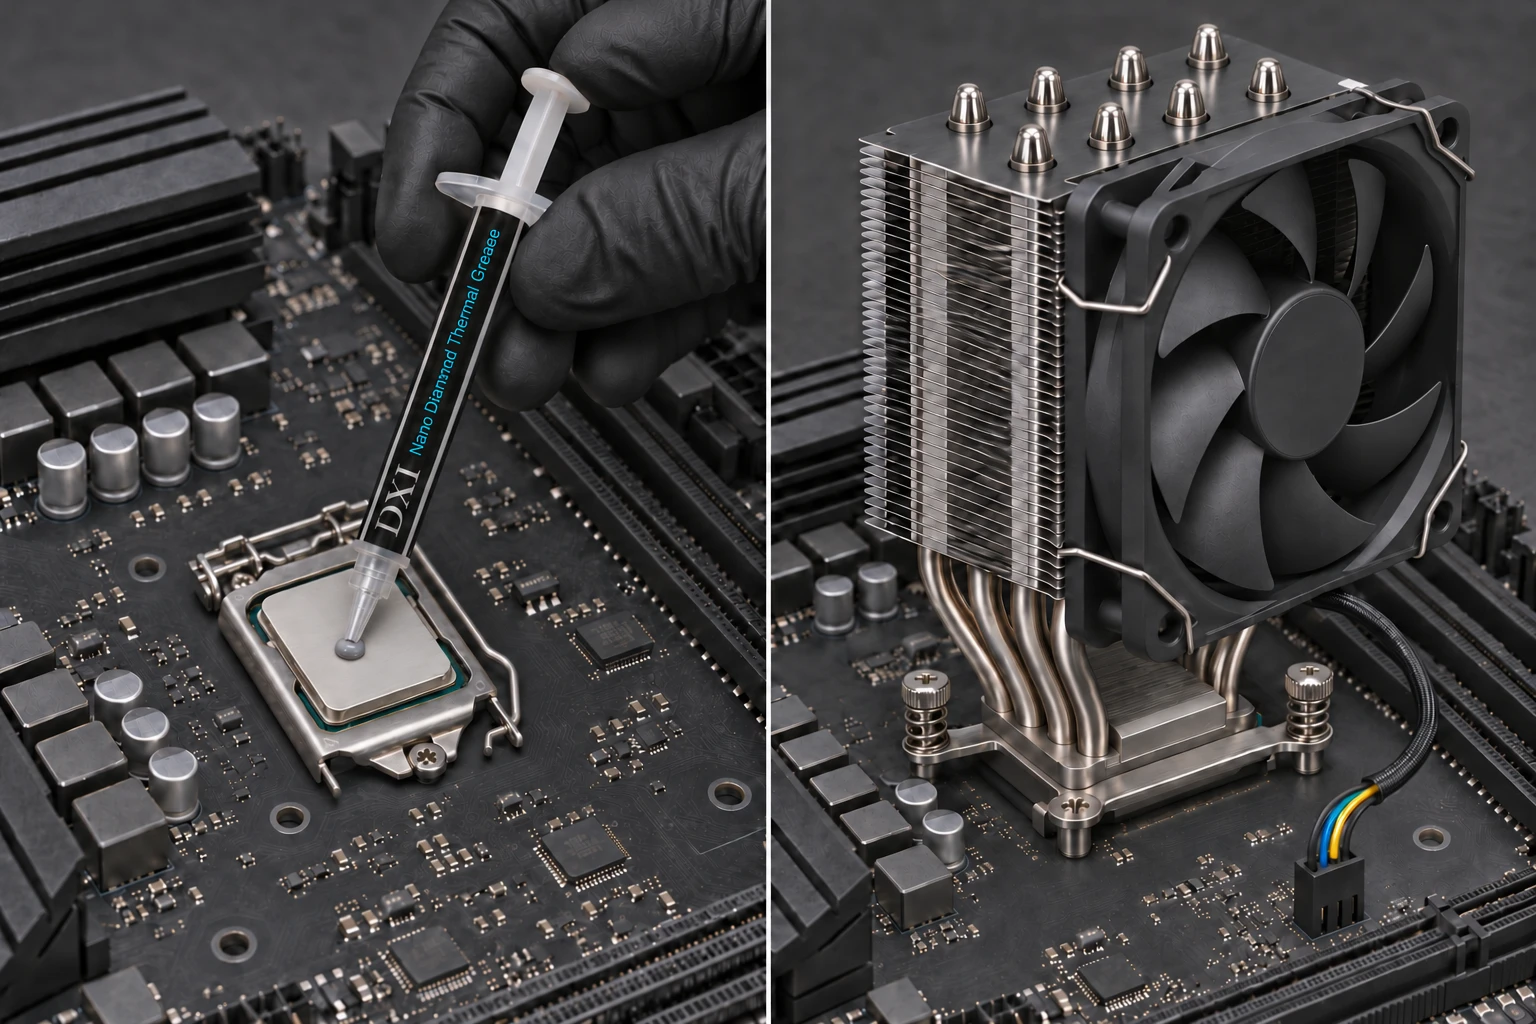
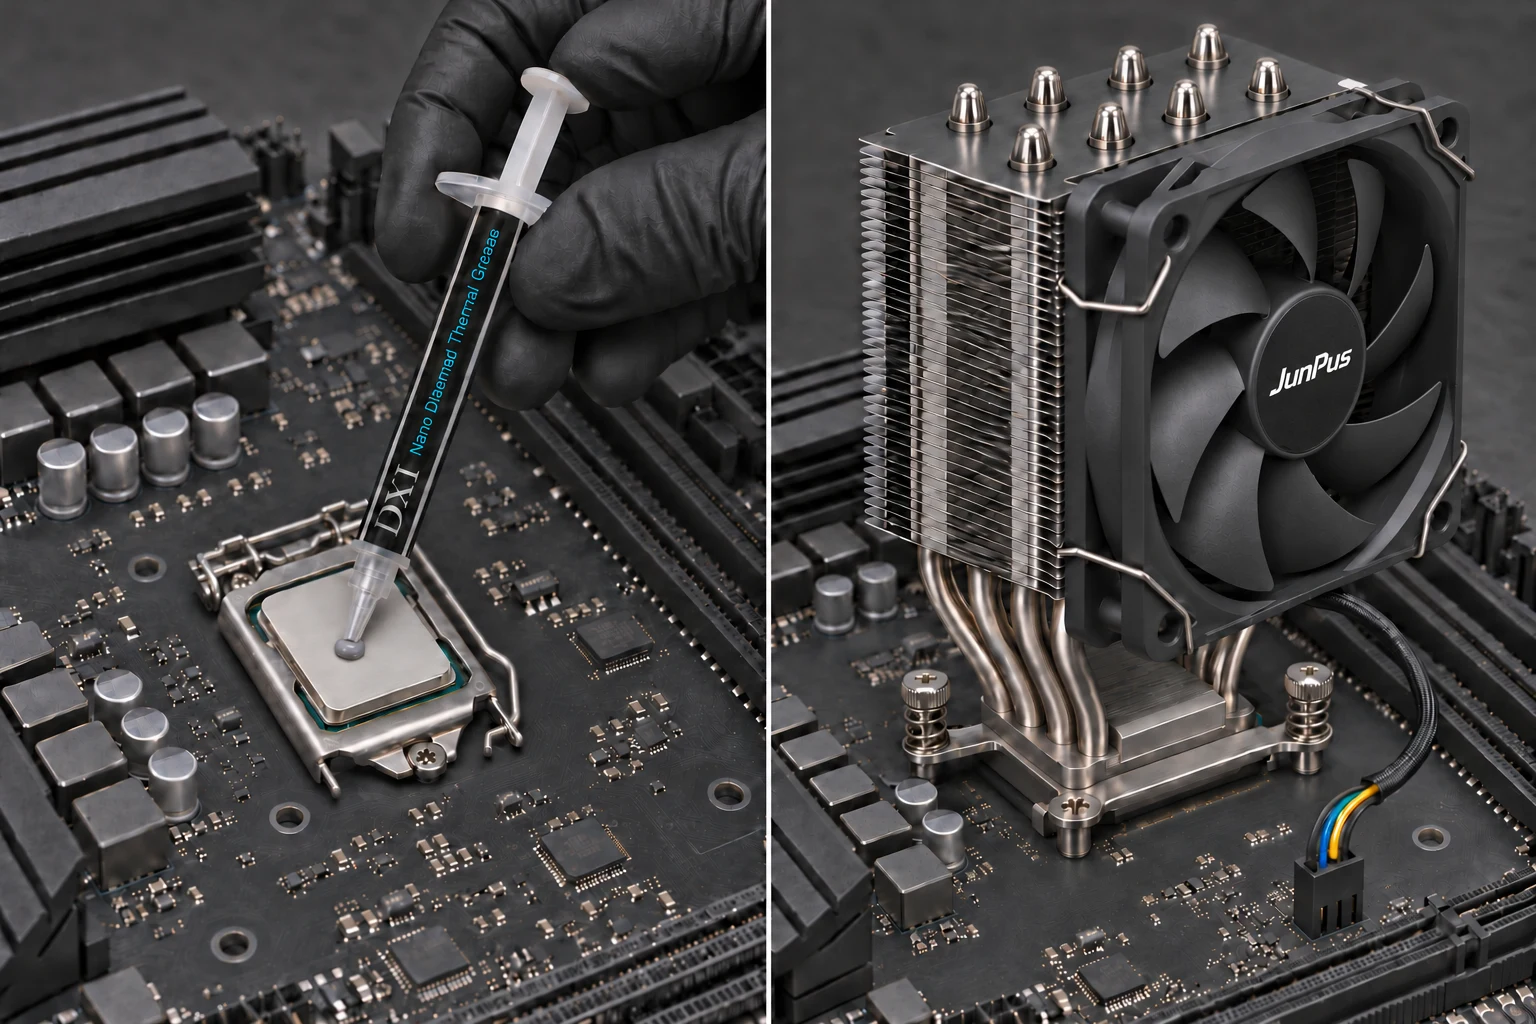
Concept image of an uncapped JP-DX1-style syringe with a transparent exposed nozzle dispensing a small gray paste bead onto the CPU metal lid.
Cap removed, nozzle exposed. Paste quantity is illustrative.
05

Apply fresh JP-DX1 paste.

Remove the syringe cap before dispensing. Use JP-DX1 where suitable for your hardware, following the compound and cooler instructions for amount, placement and coverage.

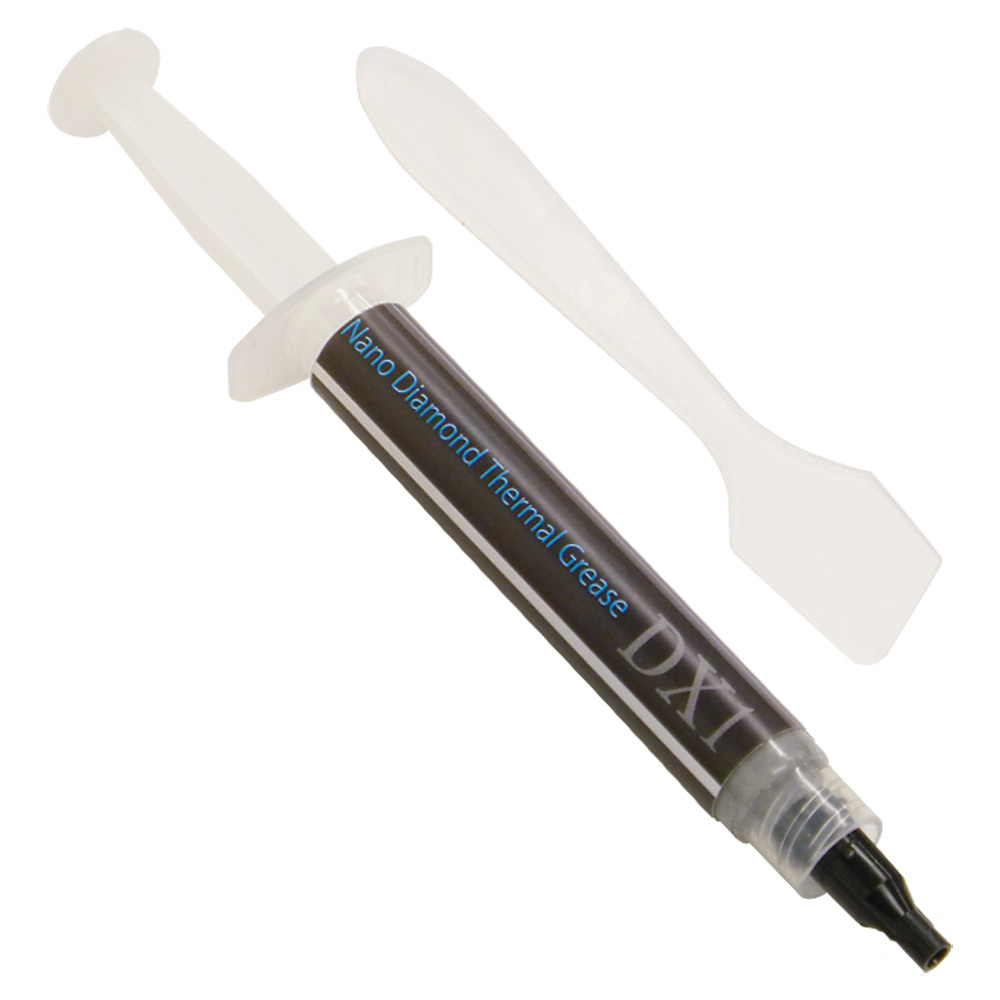
Authentic JP-DX1 3 g syringe product photograph, showing its translucent plunger, black label, blue lettering and DX1 marking.
JP-DX1 syringe reference

Authentic 3 g product photograph, shown capped. The application illustration shows the cap removed; proportions are not physically measured.

Care and handling

The pictured syringe and bead do not specify actual dimensions or a recommended dose. Never layer fresh paste over used compound. Do not add a layer over suitable intact pre-applied TIM unless instructed.

Concept image: a generic single-tower cooler with four U-shaped heatpipes, an illustrative JunPus fan-hub sticker, and a connected fan cable. This is not a JunPus fan product.
06

Reinstall and check operation.

Seat the cooler squarely. Follow its specified fastening order and torque, reconnect the required fan or pump leads, then check operation and temperatures against the hardware limits.

Care and handling

If you lift the cooler after it touches the new paste, follow the maker’s reapplication guidance. Mounts, connectors and screw positions in the image are generic.

Ready for
the next start?

A final reminder before power-on. Always follow your hardware’s service instructions.

0 of 4 checks reviewed

Reassembly reminders

Packaging

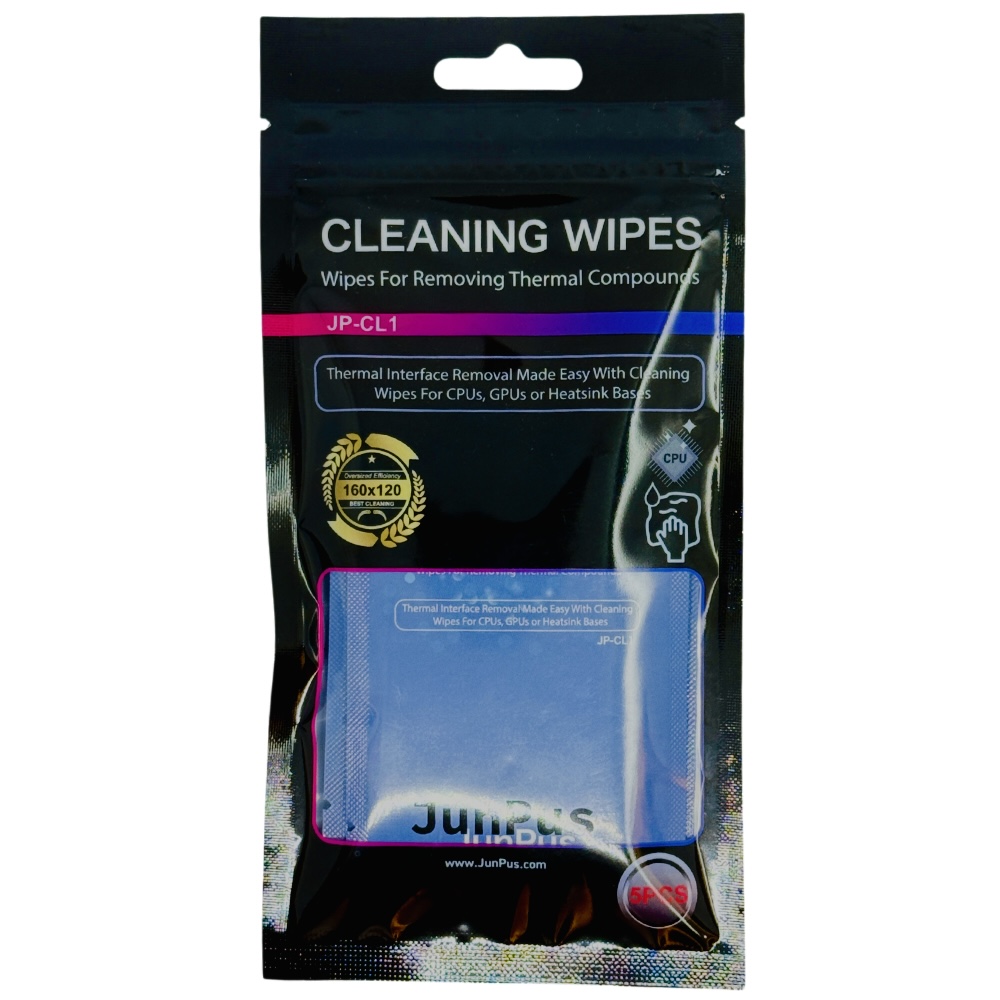
Official photograph of the black JunPus JP-CL1-5PCS pack.
5 wipes
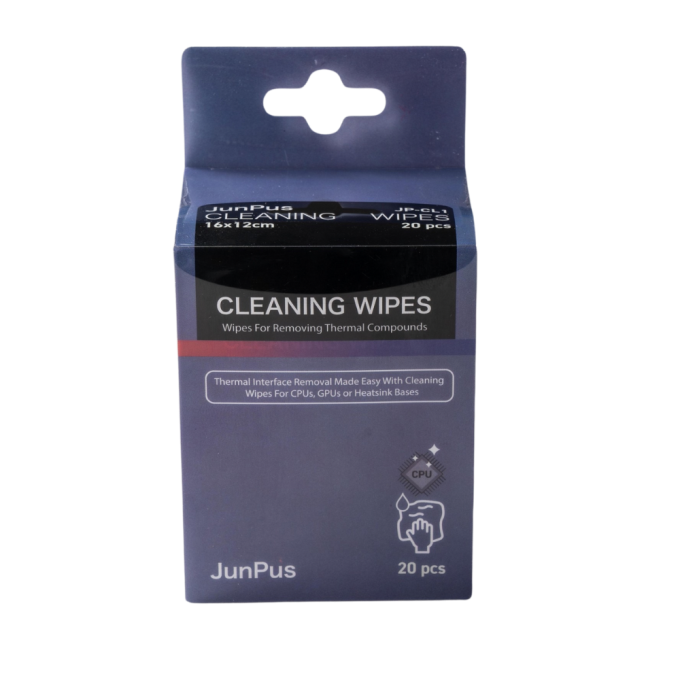
Official photograph of the blue JunPus JP-CL1 20-piece carton and individually wrapped cleaning wipe.
20 wipes

A few details
worth getting right.

How do I use the full wipe?

Each JP-CL1 wipe is single-use. During one cleaning session, fold to an unused section as you work. Use a fresh wipe when needed and discard used wipes after the session.

What does the polishing cloth do?

The polishing cloth is used for the final wipe described in the product instructions. After finishing, inspect both contact surfaces for residue and loose fibres, and allow them to dry completely. Confirm whether a cloth is included in your selected pack.

Do I need to clean both surfaces?

Yes. Used compound can remain on both the CPU lid and the cooler’s contact face. Prepare both before a fresh installation, following their instructions.

How much thermal paste should I use?

Follow the processor, cooler and thermal compound instructions for the recommended amount, placement and coverage.

How long should JP-CL1 take to dry?

Follow the JP-CL1 handling instructions and allow both contact surfaces to dry completely before applying fresh paste and reinstalling the cooler.

Does this apply to GPUs or liquid metal?

This guide covers desktop CPUs with a metal heat spreader. For exposed dies, liquid metal, electrical contacts, thermal pads, adhesives or special coatings, follow the relevant manufacturers’ approved procedures and confirm JP-CL1 compatibility before use.

TIM CLEANING WIPES JP-CL1

  • Model Number
    JP-CL1

JunPus

Performance Starts with Superior Thermal Connectivity.For OEM/ODM products please go to JunPus International Co., Ltd.

Our Company
Customer Services
Contact Info

Do you need assistance?

For any questions or concerns, you can reach us via our contact form